Master Basic Filmmaking: 13 Film Lighting Tips for Beginners
Let's delve into the magical world of filmmaking! One of the key elements that truly brings a film to life is lighting. It doesn't just brighten a scene, but has the potential to shift the entire mood and atmosphere, add depth to characters, and weave subtlety into the narrative. In this beginner's guide, you'll explore the indispensability of lighting, from definitions of monumental terminologies to ways in which you can play with it to create your desired effect. Together, we will unlock the secrets of natural light, three-point setups, high and low key lighting, backlighting, the use of shadows and the distinction between hard and soft lights. Learn to manipulate reflectors, color temperatures, gels, light modifiers, diffusers and practical lights. We'll also tackle the challenges of mixed light sources and provide budget-friendly solutions. Ready to light up your story with these film lighting tips for beginners? Let's illuminate your path to cinematic excellence.
Understanding Film Lighting: Basic Definitions
Before jumping into the finer details of lighting your film, let's lay down some basic definitions for key lighting terminology. Understanding these terms is crucial to mastering film lighting, especially for beginners. Light, in its simplest definition, is what allows us to see the characters and details in the scenes. The primary role of lighting in filmmaking beyond visibility, however, is to produce a particular mood or atmosphere. This is achieved by controlling and manipulating different types of light, manipulating shadows, and using color temperatures to your advantage.
To shed some light (pun intended) on those terms, consider the typical lighting setup involved in filming. 'Key light' is the main source of light and usually the brightest, directly illuminating the subject. The ‘fill light’ helps by softening or filling in the shadows caused by the key light. The third type, 'backlight', is positioned behind the subject and helps separate it from the background. Each of these contributes to the overall mood of the scene, be it suspense, romance or action. Similarly, other elements such as 'natural light' (sunlight), 'soft light' (diffused light), 'hard light' (direct light), 'high key' and 'low key' lighting (ratio of light to dark areas in a scene), all play integral parts in creating a particular atmosphere in your film. By gaining familiarity with these basic film lighting terms, you set the stage (another pun!) for advancing your filmmaking skills.
Tip 1: Importance of Natural Light
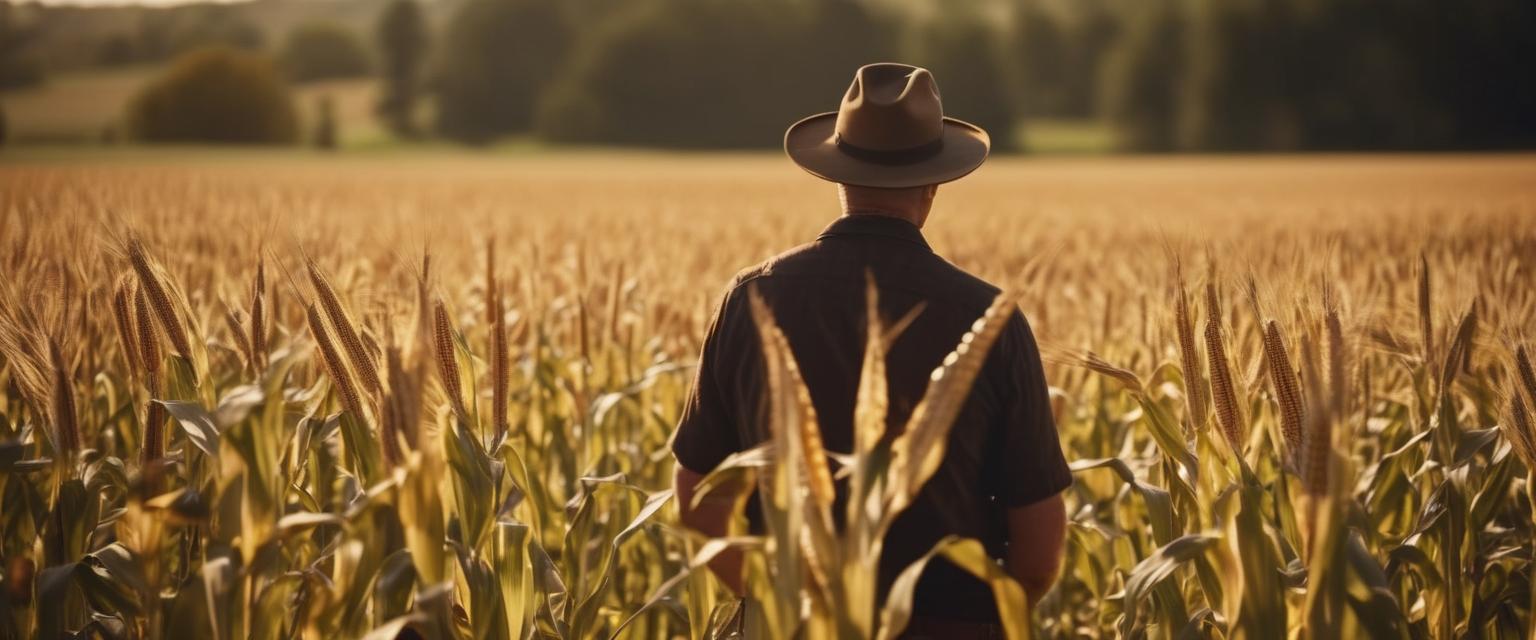
Natural light is a powerful tool in film production, a free resource that can produce stunning results when leveraged correctly. Understanding how to use it effectively is one of the key film lighting tips for beginners. Depending on the specific weather conditions and time of day, natural light can create a variety of moods and atmospheres, from soft and dramatic during a cloudy afternoon to harsh and contrasty during midday sun. Filmmakers should note that early morning and late afternoon, also known as 'golden hours', offer the softest and most flattering light. It washes over subjects gently, creating beautiful shadows and depth.
However, filming under natural light isn't as straightforward as just pressing the record button. Weather and lighting conditions change rapidly, making it essential to plan shoots carefully and adapt to shifting circumstances. For instance, an unexpected cloud cover can dramatically alter your scene's ambience. Filmmakers also need to be mindful of sun direction as it impacts the shadows and highlights on your subject. Movies like 'The Revenant' have used natural light masterfully, providing proof of what can be achieved when these considerations are kept in mind. By harnessing the potential of natural light, even novice filmmakers can create visually stunning and impactful scenes.
Tip 2: Utilizing Three-Point Lighting
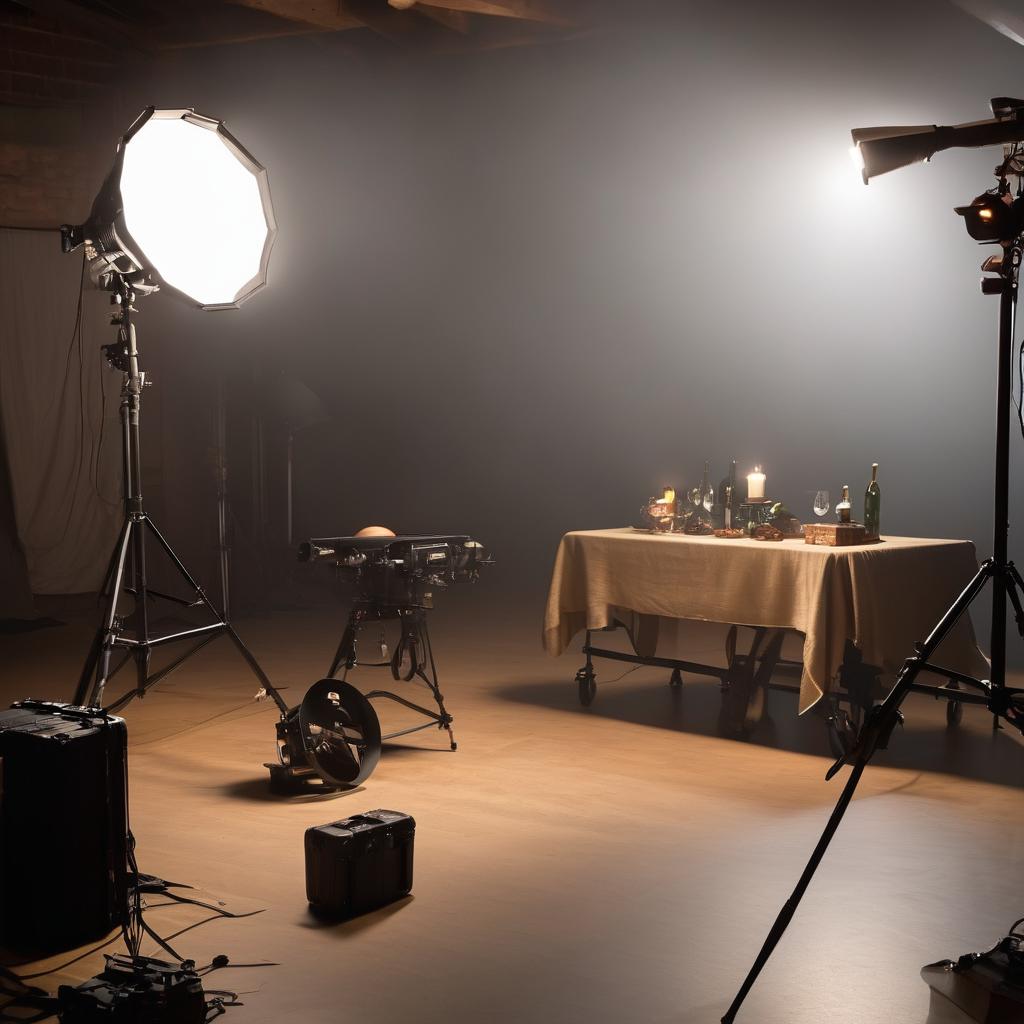
Three-point lighting is a vital concept for anyone seeking to master basic filmmaking. This traditional method involves the use of three types of light: key light, fill light, and backlight that work in harmony to generate balance and depth in the scenes. The key light serves as the primary source of lighting, often placed at a 45-degree angle to the subject, casting the most significant amount and defining the overall look of the scene. This principal source establishes the viewing direction and can even direct viewer's attention within the frame.
To tackle the hard shadows that the key light might create, a fill light is employed. This secondary lighting source is less intense, generally set opposite the key light, softening and eliminating the shadows. By adjusting the intensity and placement of the fill light, one can manipulate the appearance of depth and volume in the scene. For instance, less fill light lends a dramatic and intense ambiance, often used in suspense and thrillers.
Lastly is the backlight, also known as rim light or hair light, which gives the subjects an outlined, distinct shape while preventing them from blending with the background. This is generally located behind and above the subject, subtly enhancing the depth by creating a three-dimensional effect. Through the strategic placement and manipulation of these lights, filmmakers can create visually engaging scenes that evoke different moods and atmospheres, reinforcing the narrative's intention. Think of the iconic low-lit scenes in 'The Godfather' movie, giving it a dramatic and intense tone, or the use of the three-point lighting in family sitcoms producing a welcoming and warm effect. By mastering these film lighting tips for beginners, the power to influence your audience's experience will be at your fingertips.
Tip 3: High Key and Low Key Lighting
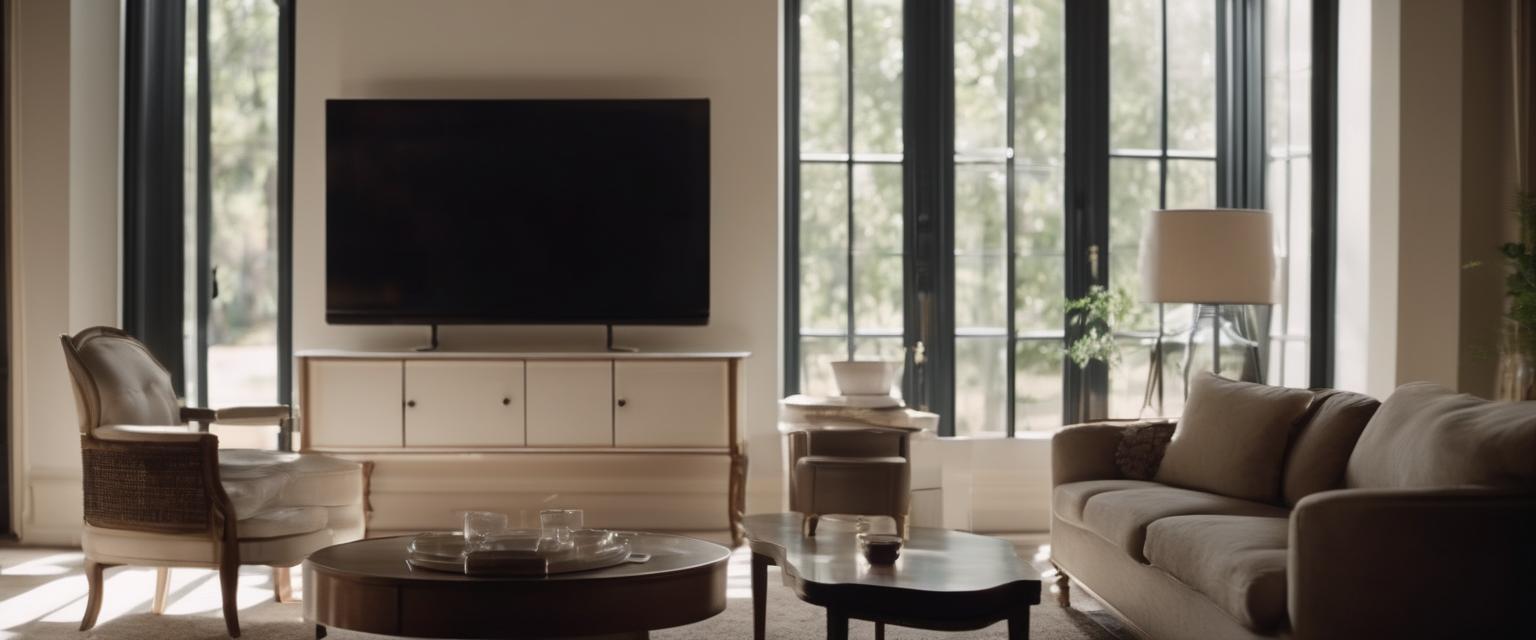
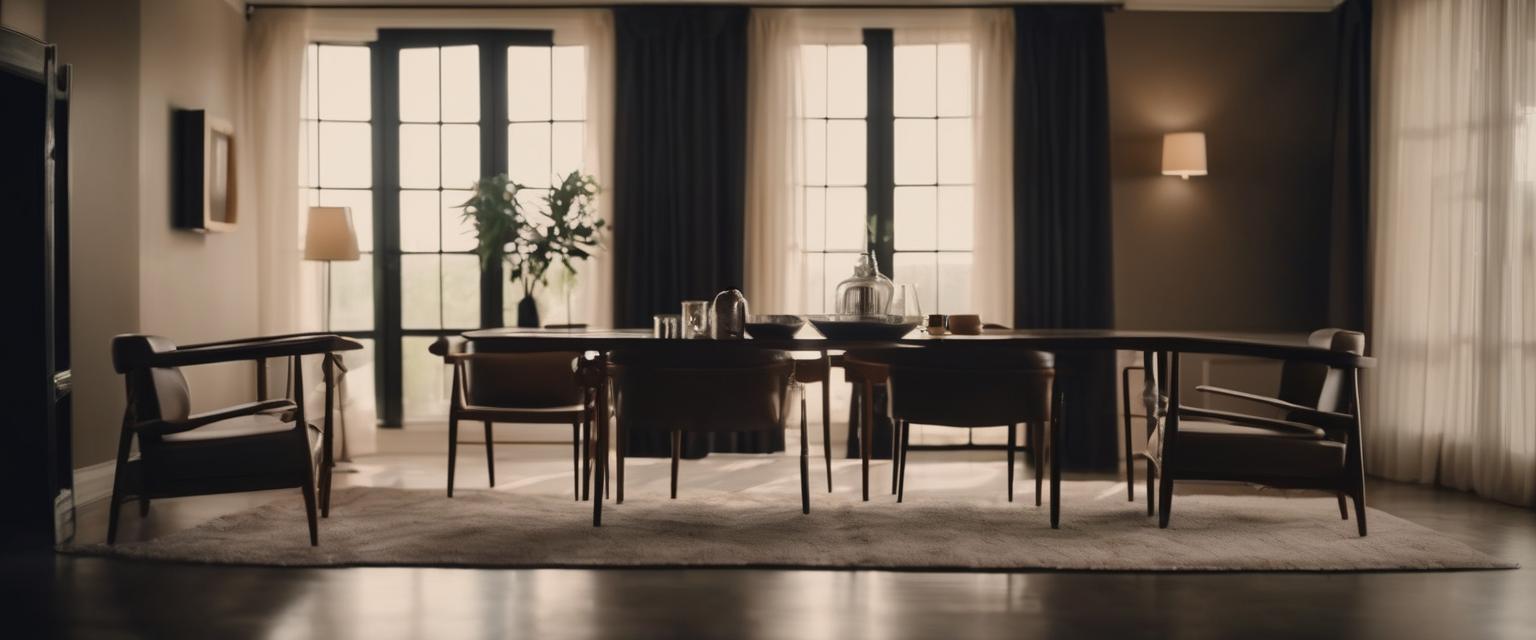
High key and low key lighting are both essential techniques to grasp in the realm of film lighting. Each technique serves a vital purpose and can drastically influence the mood, theme, and overall tone of your film. As a budding cinematographer, you should be aware of the striking differences between the two. High key lighting typically engenders a brighter, upbeat mood. It minimizes harsh shadows by using more lighting, primarily on the subject's face. A classic example of high key lighting usage would be any daytime scene in a romantic comedy movie where the mood is light-hearted, distinct, and engaging.
On the other hand, low key lighting creates a wholly different atmosphere with its dramatic and moody vibe, achieved by using fewer lights and crafting strong shadows. This technique capitalizes on the contrasting nature of light and dark. One cannot overlook the masterful and strategic implementation of low key lighting in film classics like "The Godfather," which effectively utilizes the low key lighting technique to create a sense of tension and suspense in its pivotal scenes.
Mastering when to use each of these lighting techniques can drastically improve your cinematography skills. Remember, high key lighting is your go-to for creating cheerful, bright scenes, while low key lighting helps in crafting intense, atmospheric moments. Following this film lighting tip for beginners can help set the mood effectively and bring your storytelling to life. It's all about finding that balance and orchestrating the right environment to serve your narrative meaningfully.
Tip 4: Mastering the Art of Backlighting
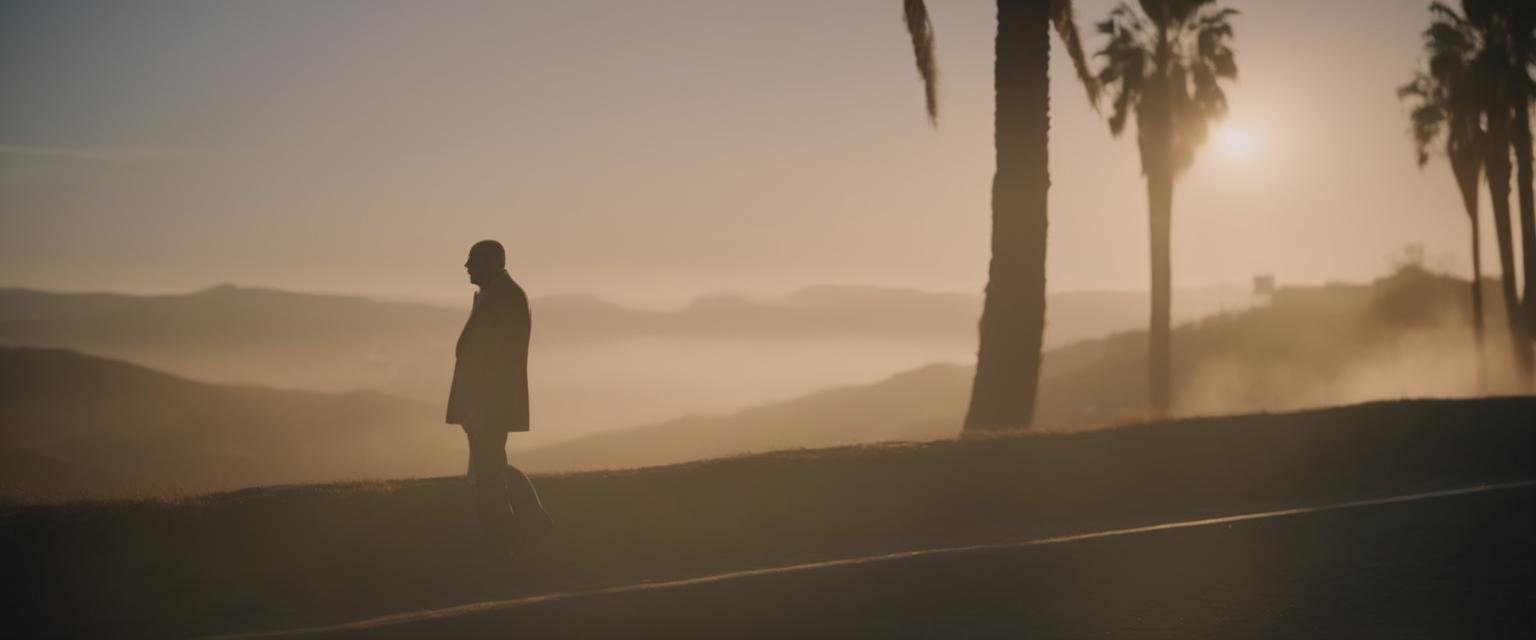
Backlighting is an instrumental film lighting technique. Its main purpose is to provide depth and separate the subject from the background, crucial components in keeping the viewers engaged and invested in the characters. This separation occurs because the backlight creates an outline or halo effect around the subject, distinguishing them from the surroundings. Excellently executed, backlighting can sometimes be so subtle, yet its impact so significant, that viewers might not consciously notice it, but they'll certainly feel the difference in the production quality.
There are numerous techniques to introduce successful backlighting in a scene. Most importantly, the backlight has to be properly positioned. It has to come from behind the subject and aim towards the camera but stay off-frame. This positioning evokes a three-dimensional appearance in a two-dimensional medium like film.
Another technique is to consider your objects' backlighting power and how it blends with other light sources. For example, a too strong or direct backlight may cause washout scenes or unwanted silhouettes, while a too weak one might not achieve the desired separation effect. Properly balancing backlight with key and fill lights, considering elements like the backlight's angle, diffusion, and color, can refine your cinematography and enhance your scene's aesthetic.
Remember, backlighting isn’t a mandatory component for every scene. So take the time to experiment with it in different scenarios. Whether you're filming a detailed close-up or an intricate large scale scene, backlighting can offer an additional layer of visual interest, effectively boosting your film's overall look and feel. With practice and creativity, mastering the art of backlighting can push your filmmaking abilities to a new level, setting you apart from other beginners and helping you truly shine.
Tip 5: Shadows: Your Film's Best Friend
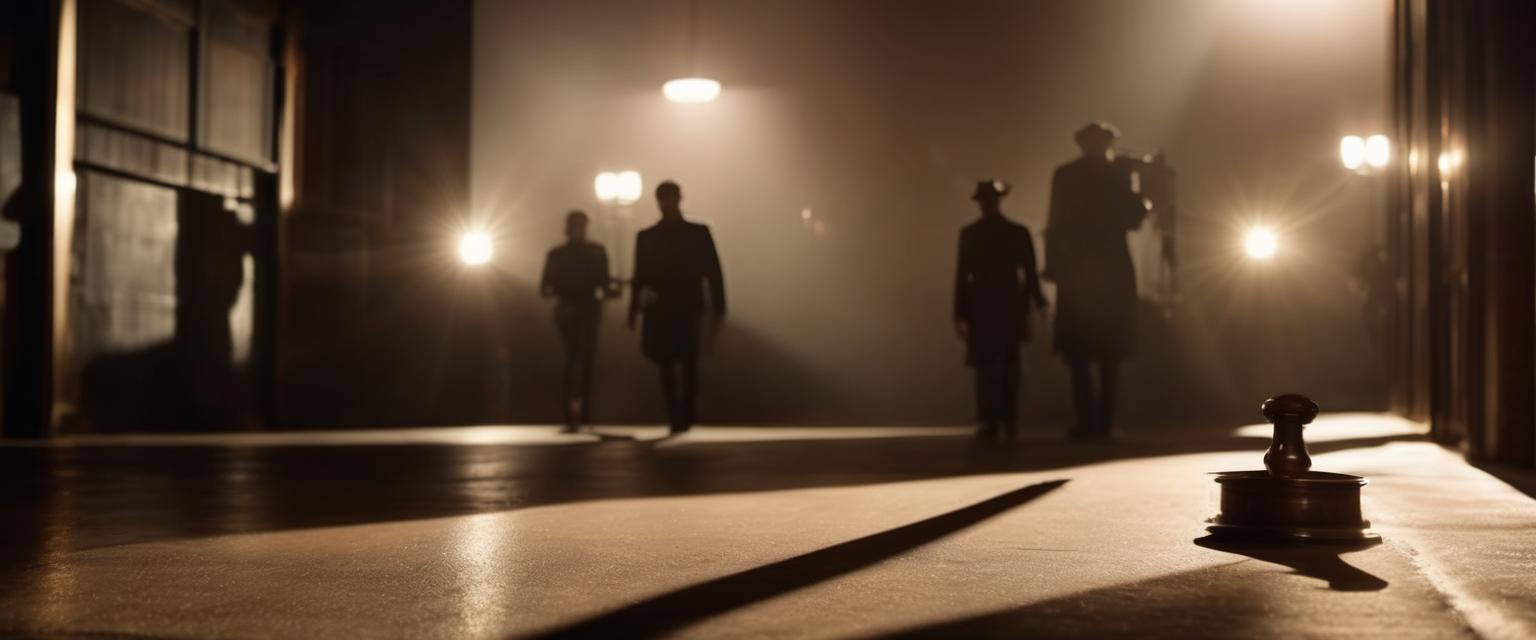
Shadows are often overlooked but can be one of a filmmaker's greatest tools. Understanding their role in filmmaking forms the core of our fifth film lighting tip for beginners who wish to immerse themselves in basic filmmaking.
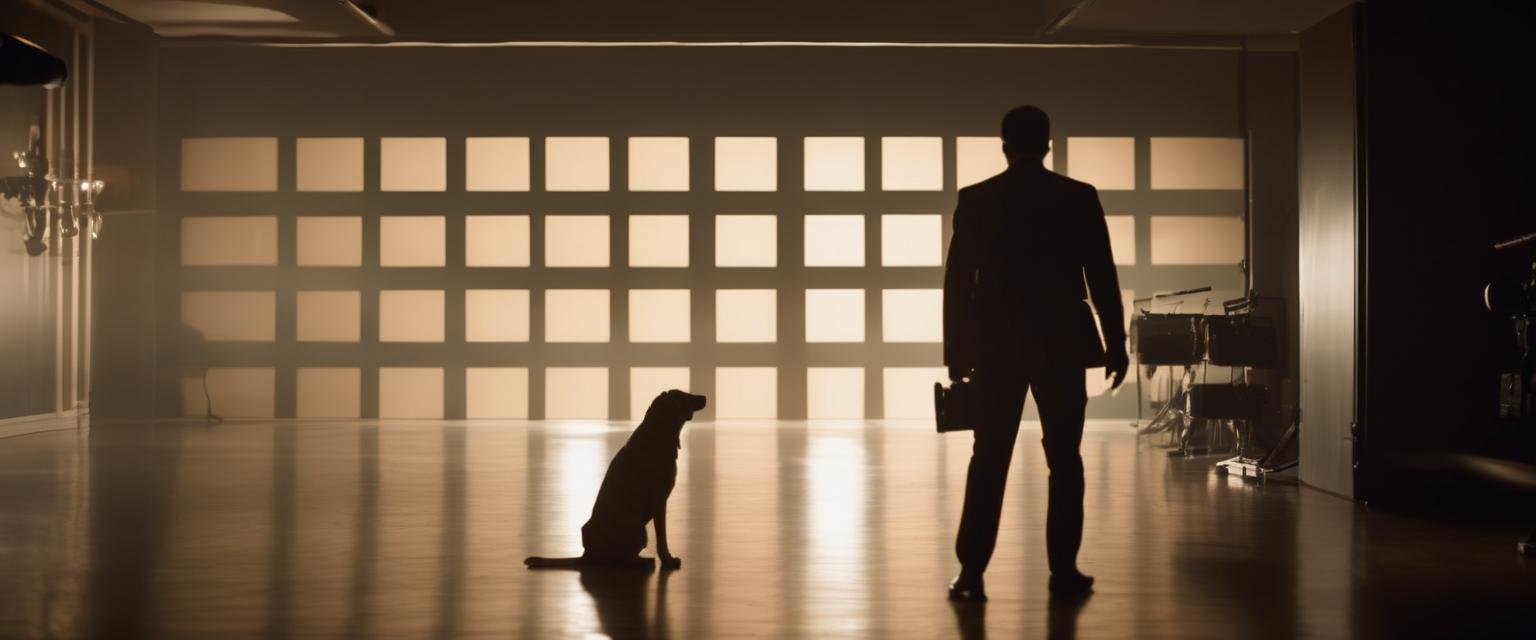
Shadows lend definition and depth to a scene. They interact with light to create different intensities and tones, giving shape to the objects, characters, and even the atmosphere of the scene. When used creatively, they contribute to the overall narrative and can evoke a range of emotions, from suspense to serenity. Simply put, proper use of shadows can convert a two-dimensional perspective into a compelling, visually stunning three-dimensional experience.
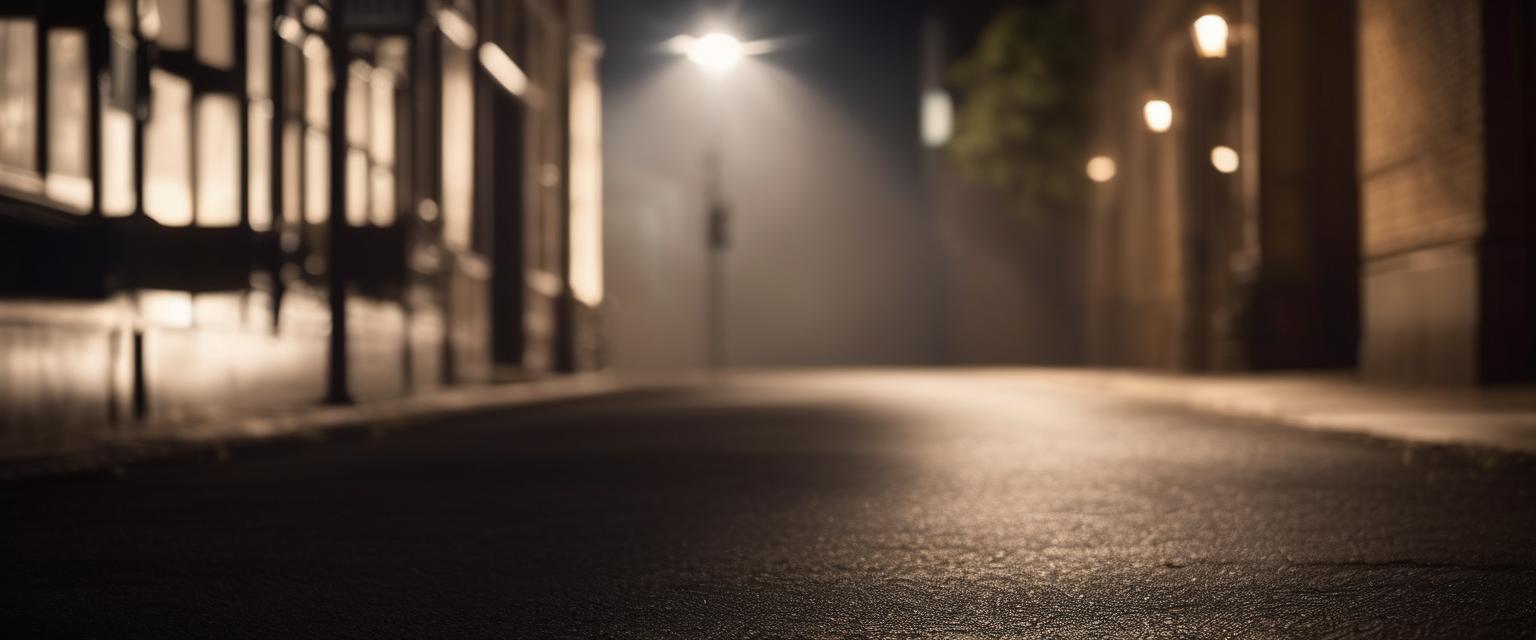
Take, for example, the famous shower scene in Hitchcock's "Psycho". The sharp, high-contrast shadows contribute to the chilling tension and terror, showcasing how shadows can be used for dramatic effect. In addition, shadows can also subtly draw attention to specific elements in a scene, like how Spielberg uses them in "Schindler’s List" to highlight crucial aspects of the narrative.
In conclusion, by mastering the art of incorporating shadows into your film, you can craft impactful visuals and narratives, proving them to be an essential component of the film lighting tips for beginners. Do ample research, and don't hesitate to experiment for desired effects. After all, filmmaking is as much about creativity as it is about technical prowess.
Tip 6: Harnessing Soft Light and Hard Light
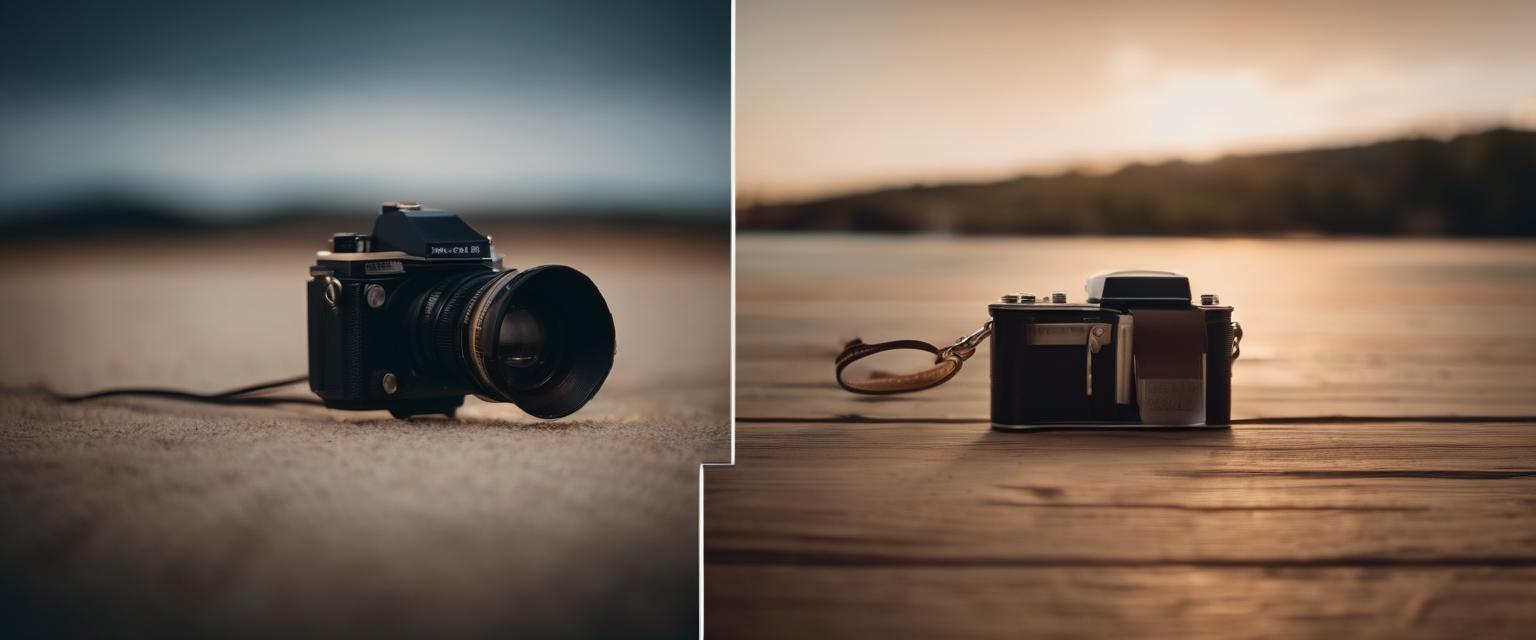
It's time to dive into the world of soft and hard light, both of which play crucial roles when applying film lighting tips for beginners. The critical difference between the two lies in their appearance; soft light is diffused and low contrast, often used to create a gentle, soothing effect or to smoothen an actor's skin. On the other hand, hard light creates sharp, high contrast, and well-defined shadows, making it fitting for dramatizing scenes or accentuating an object's texture.
One of the primary techniques for manipulating these two kinds of light is through the use of different lighting modifiers. For soft light, lighting artists commonly utilize diffusers or bounce the light off large surfaces to lesson shadows and contrasts. For instance, a large piece of white foam board can soften the harsh afternoon sunlight, contributing to a richer and more natural look in the scene.
Creating hard light, conversely, requires a more direct approach. One typical method in the industry is by directing the lighting source straight to an object or actor without any interface which can disrupt the light path. Picture a scene in a noir film where the light sharply cascades through the blinds creating distinct lines, enhancing the drama and tension of the scene. This is a prime example of hard light utilization.
But how can one control these types of light? Well, the distance and size of your lighting source significantly influence the hardness or softness of the light. For instance, a smaller light source or a source placed farther away results in much harder light. Conversely, a larger light source or one placed nearer to the subject would yield softer light.
In conclusion, mastering the use of soft and hard light is a fundamental part of film lighting tips for beginners. These techniques can help in shaping the atmosphere and mood of your film, adding depth and complexity to your visual storytelling. So remember, control and harness soft and hard light carefully to elevate the cinematic quality of your film.
Tip 7: Pro Tip – Using Reflectors
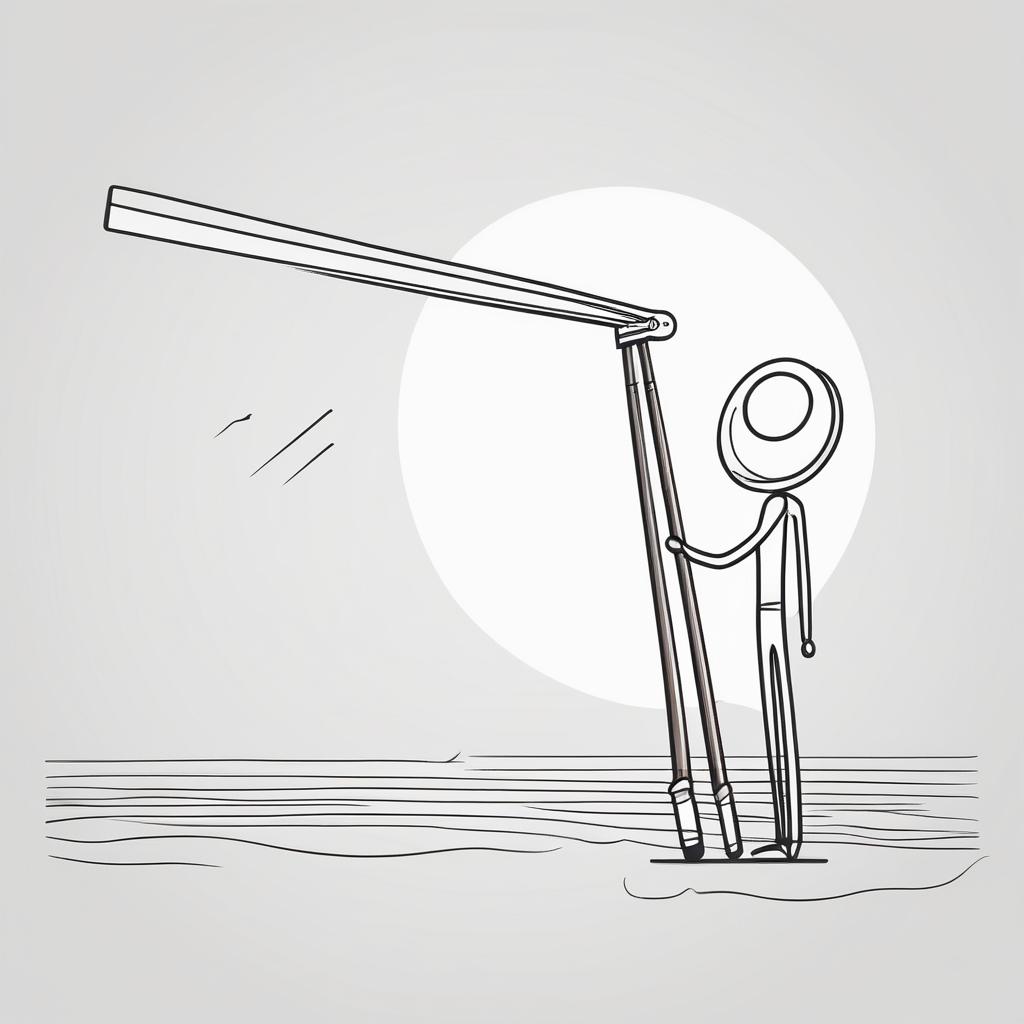
Reflectors come in an array of types and significantly enhance the quality of light in your film production. These versatile tools manipulate and redirect light to fill in shadows, lessen contrast, or toss a warm glow over your scene. Broadly speaking, there are three common types of reflectors: silver, gold, and white. Silver reflectors are wonderful in bouncing a strong, crisp light and maintaining the color temperature. While gold ones cast an appealing warm light that is especially flattering on skin tones. Finally, white reflectors bounce back the light in an understated way, these are perfect when you want to subtly brighten the dark areas without losing the atmospheric mood of the scene.
To use reflectors in your film lighting setup, you must first understand the angles of reflected light. Picture how a pool ball ricochets off the side of a pool table, light behaves in the same way – it travels in a straight line and reflects off surfaces at an equal but opposite angle. Place the reflector on the opposite side of your light source to bounce light back into your shot, paying close attention to where the bounced light falls.
One practical technique involves positioning the reflector below your subject’s face during a close-up shot. This bounces light up to fill in unwanted shadows and provides a soft light, which is usually more flattering. Positioning is key - a low angle brings out facial features, catches the eyes, and gives your subject a certain glow.
Reflectors are versatile, portable, and affordable tools. To illustrate, during outdoor shoots, they can bounce sunlight back onto your subject to balance the brightness of the background and the foreground. This leads to even exposure throughout the scene, which is essential when shooting in high-contrast environments, such as a sunny day.
By incorporating reflectors into your lighting arsenal, you're already taking a giant leap in improving your lighting expertise. Always remember, practice and creativity are crucial in using this tool. Each film set and natural environment presents a unique situation, so experiment with reflectors in different positions and angles to achieve your envisioned result.
Tip 8: Importance of Color Temperature
Understanding white balance and color temperature is key when choosing your lighting setup. White balance refers to the process of correctly rendering the color in a shot to match the light source. This concept is crucial to help your camera accurately portray the colors in the scene, as they appear to the human eye. While your camera will generally have an automatic white balance setting, being knowledgeable about manually adjusting can dramatically improve your film's visual appeal.
Color temperature, on the other hand, is a characteristic of light that describes the warmth or coolness of a light source. It is usually measured in Kelvin (K), with lower values representing warmer (yellow to red) light and higher values indicating cooler (blue) light. For instance, natural daylight typically has a color temperature around 5600K, while tungsten lights fall around 3200K.
This understanding is critical as the color temperature can significantly affect the mood and feel of a scene. Warmer colors can often evoke feelings of intimacy or nostalgia, while cooler colors can provide a more crisp, clinical, or stark atmosphere. For example, using a high color temperature can depict colder scenes accurately, while a low color temperature might be useful for capturing the golden glow of a sunset.
You should explore with different white balances and color temperatures to achieve the aesthetic you want for your film. Just remember this important film lighting tip for beginners: always make sure to adjust your camera's white balance settings to match your light source's color temperature. Failing to align these elements can result in unnatural looking skin tones or an unwelcoming feel to your scenes.
However, don’t be afraid of pushing boundaries and experiment with color temperatures for artistic effect. There could be situations where intentionally skewing color temperature can add another dimension to your scene, supporting the storyline or character development. As long as it serves your narrative, breaking rules can be a creative tool.
Tip 9: Experiment with Gels
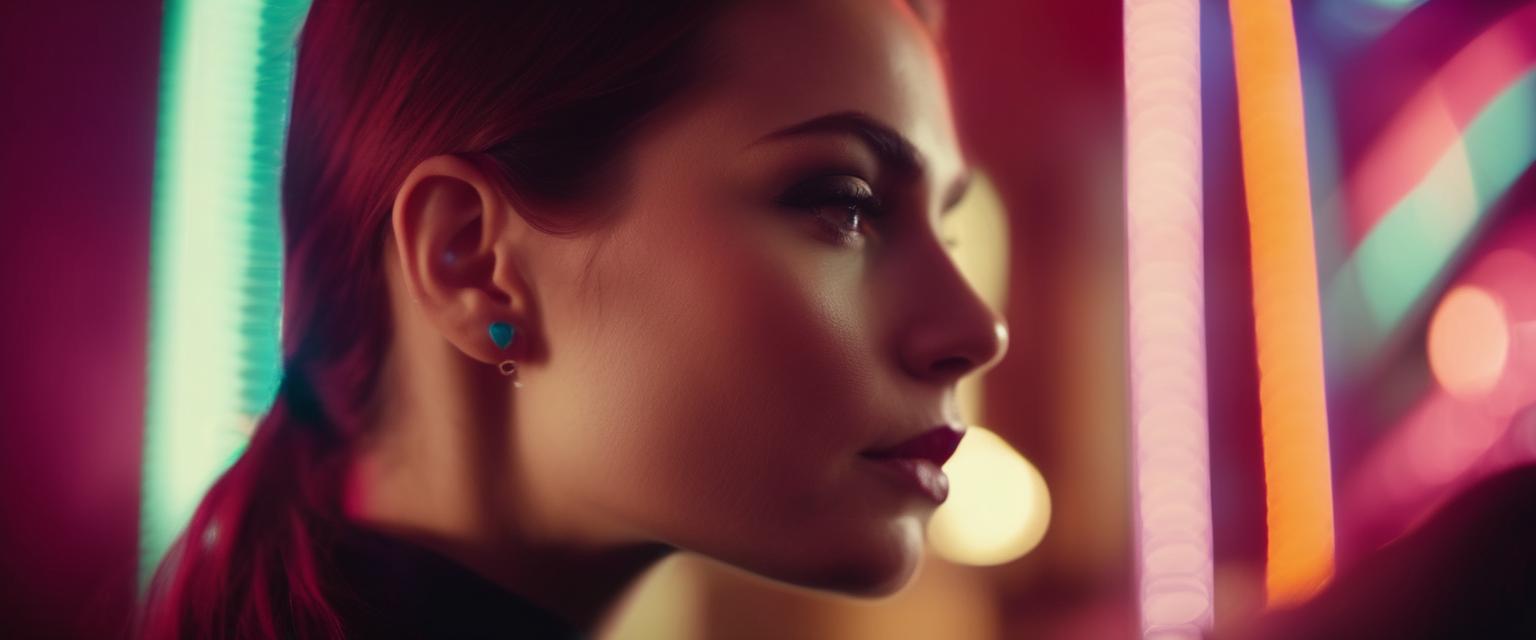
Diving into the fascinating world of film lighting opens up many opportunities for experimentation, and one of these is the use of gels. These thin, colored pieces of plastic play a pivotal role in the creation of unique, eye-catching scenes, and have the potential to strengthen the emotional resonance of your work. As one of the practical film lighting tips for beginners, gels are certainly worth inclusion in your filmmaking arsenal. Not only do they enable color correction, but they can also be used to create a whole range of imaginative visual effects.
Traditionally, gels are used to manipulate the color balance of a scene. For instance, you might place a blue gel over a light source to counteract a too-warm color temperature, rendering the light cooler and more balanced. Contrastingly, a warm gel, such as red or orange, can be used to bring warmth and emphasis to a particular subject or area in a scene. This simple yet effective practice can bring harmony to your shots in terms of color temperature.
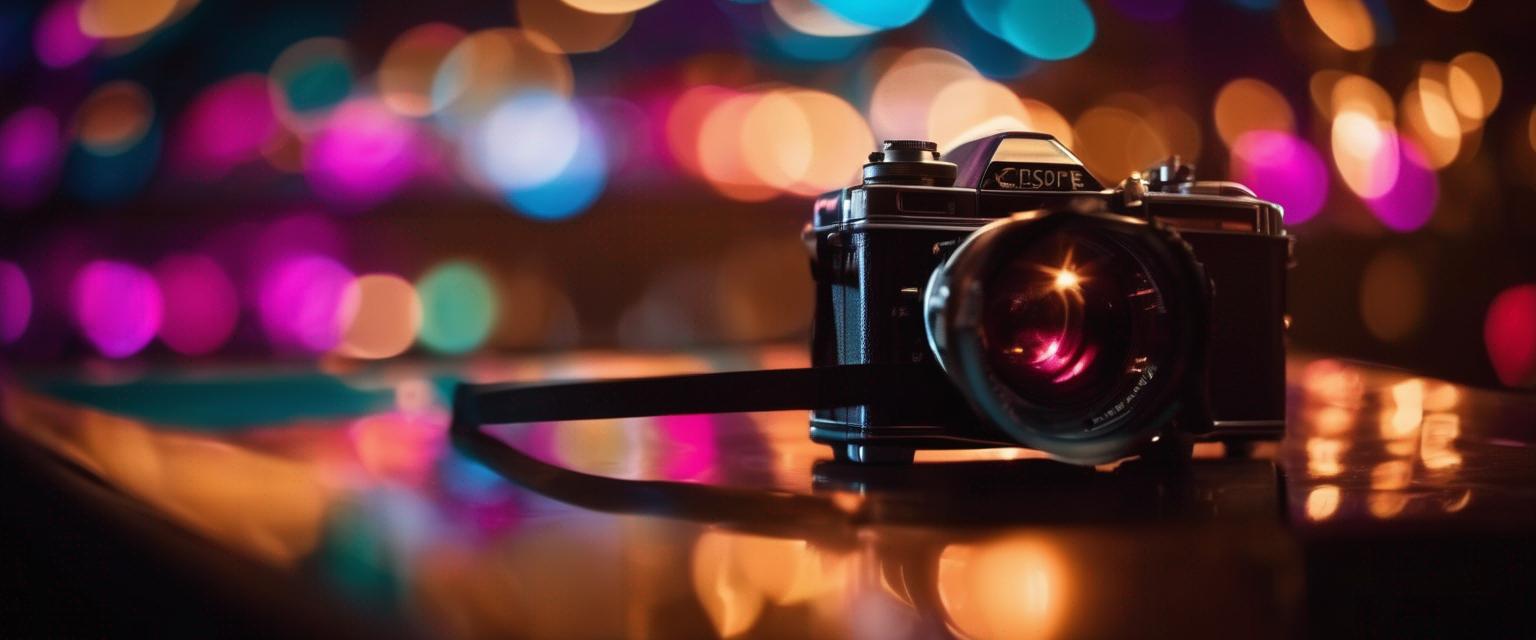
Aside from color balance, gels also have the potential to create a myriad of creative and atmospheric effects. For instance, a green gel used in a horror scene can contribute to a spooky, eerie atmosphere, helping to emphasize the genre. In a fantasy or sci-fi scene, a gel might be used to simulate otherworldly light effects, deepening the immersion of your audience.
Of course, as with anything, it’s crucial to not go overboard with the use of gels for lighting in film. Part of mastering this technique involves understanding when and where to use them for the best effects, and this comes with practice and study. For beginners just starting out, one good approach might be to experiment with basic color correction first, before delving into more creative endeavors. Overall, the use of lighting gels adds another dimension to your filmmaking, providing endless possibilities for enhancing mood and visual storytelling.
Tip 10: Light Modifiers and Diffusers
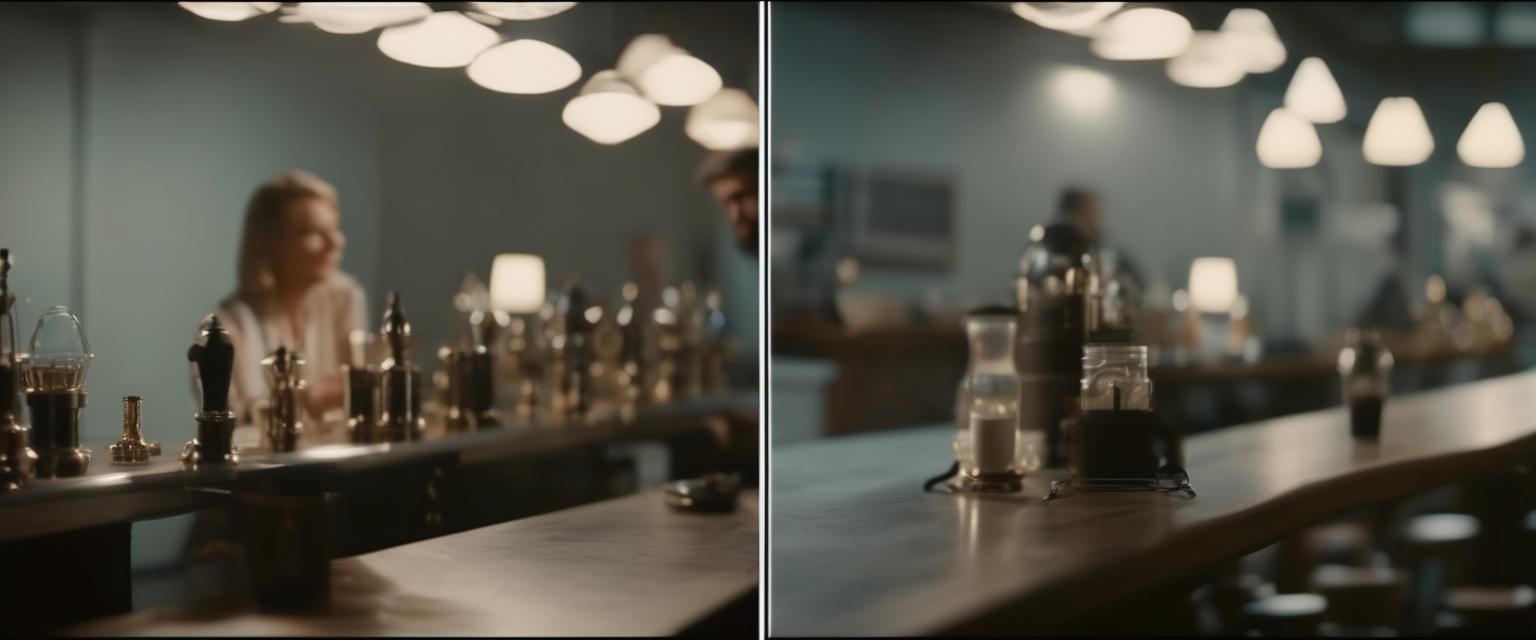
Getting to know the different light modifiers is an integral part of the filmmaking process. Light modifiers, which include tools like umbrellas, reflectors and softboxes, shape and control the qualities of light in a scene. They can be used to create a variety of effects, from harsh, high-contrast lighting to soft, diffused light. Each modifier serves a unique purpose. For instance, softboxes are ideal for casting a smooth, even light on your subject, while umbrellas help spread light over a larger area.
The use of diffusers is another crucial film lighting tip for beginners. Diffusers spread or scatter light, reducing contrast and softening shadows. They're an invaluable tool in the arsenal of a beginner filmmaker, particularly in scenarios where there is harsh, direct light from a source. The effect diffusers create is like the soft light on an overcast day as opposed to direct sunlight. Their use can significantly enhance the aesthetic quality of your shots.
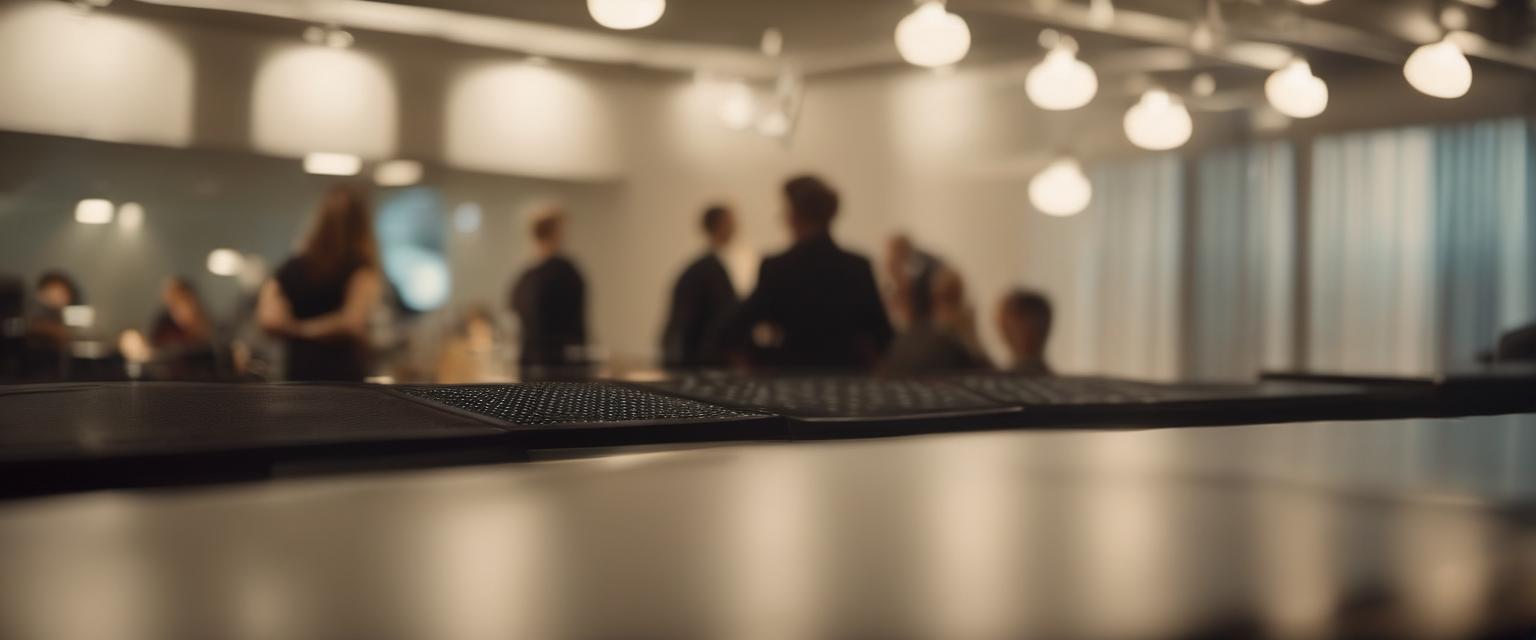
Both light modifiers and diffusers come in various sizes and materials, each having a different impact on the intensity, direction, and quality of light. For instance, a larger diffuser or softbox will deliver softer light as it spreads the light over a larger surface. On the other hand, materials used in diffusers, like silk or muslin, can affect the color temperature of the light, thereby influencing the mood and feel of your scene.
Beginner filmmakers should experiment with different combinations of light modifiers and diffusers. Finding the perfect balance may take some practice, but the ability to manipulate light is vital in film production. The enhanced lighting effect you can achieve with these tools will add depth, drama, and visual interest to your shots, making your film more captivating to watch.
Tip 11: Practical Lights for Dramatic Impact
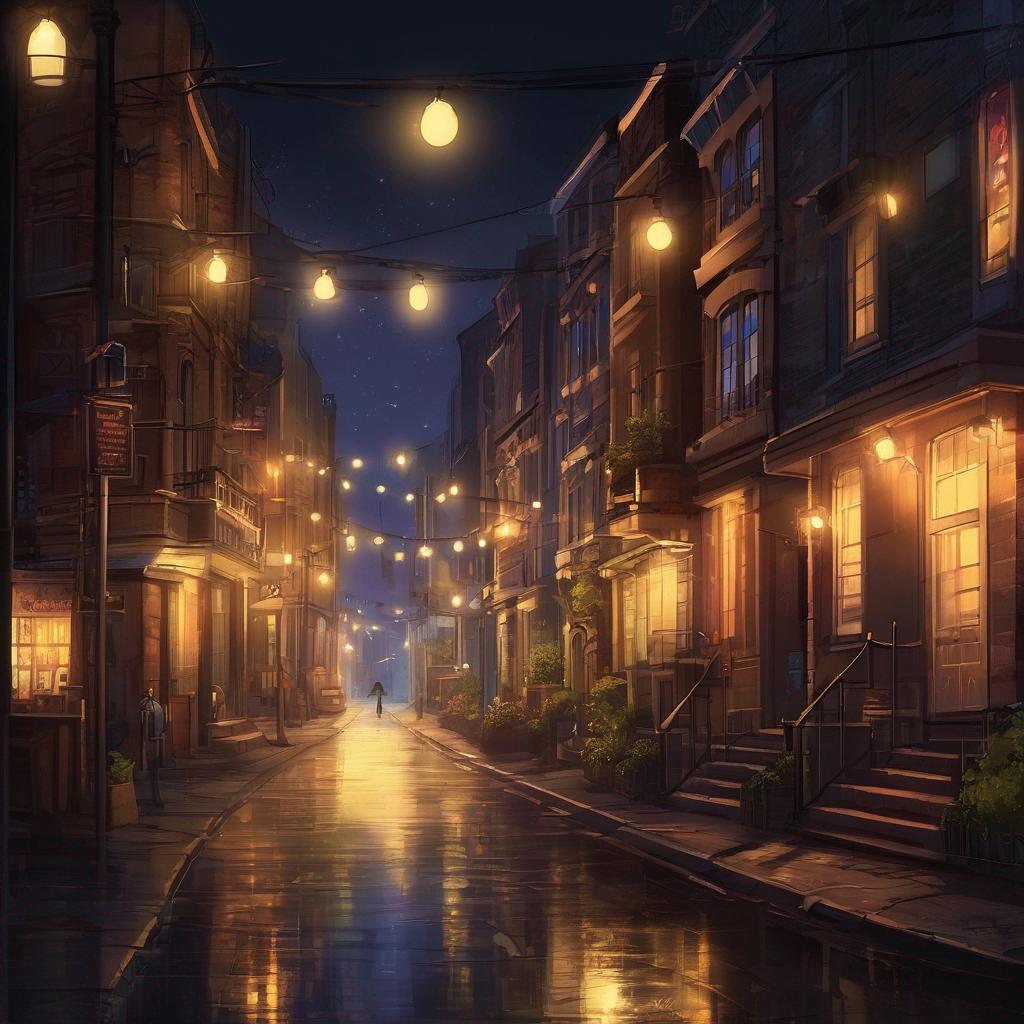
In the world of filmmaking, practical lights, meaning actual visible light sources within a scene, offer a wealth of opportunities for creating dramatic impact. These light sources can range from a simple household lamp or candle to neon signs and car headlights. By incorporating practical lights into your scenes, you can lend a sense of authenticity to your shots while also using the opportunity to create aesthetically-pleasing lighting effects. This is where the artistry of your cinematography can truly shine, making this a vital film lighting tip for beginners.
Practical lights can serve a dual purpose in your film – offering both actual light as well as becoming part of the scenery. For example, a candle-lit dinner scene not only provides the primary light source, but also contributes to the overall ambiance of the setting. The way the candlelight flickers and casts long shadows can heighten the emotional intensity of the scene, adding drama and tension. Another example is using a strategically placed table lamp to illuminate a character's face during a pivotal dialogue scene, drawing the viewer's attention and spotlighting the actor’s performance.
Looking for more ways to create dramatic lighting effects with practical lights? Explore the potential of 'motivated lighting,' a technique where the practical light source logically motivates the lighting of the scene, making it not only visually appealing but also believable. This can be a sunrise through a window, or an open fridge in a dark kitchen. Each of these lighting situations not only justify the lighting, but can also contribute to the visual storytelling in a meaningful way. As you refine your skills, you'll find that the creative use of practical lights can truly elevate the quality of your films, making it another key film lighting tip for beginners.
Tip 12: Beware of Mixing Light Sources
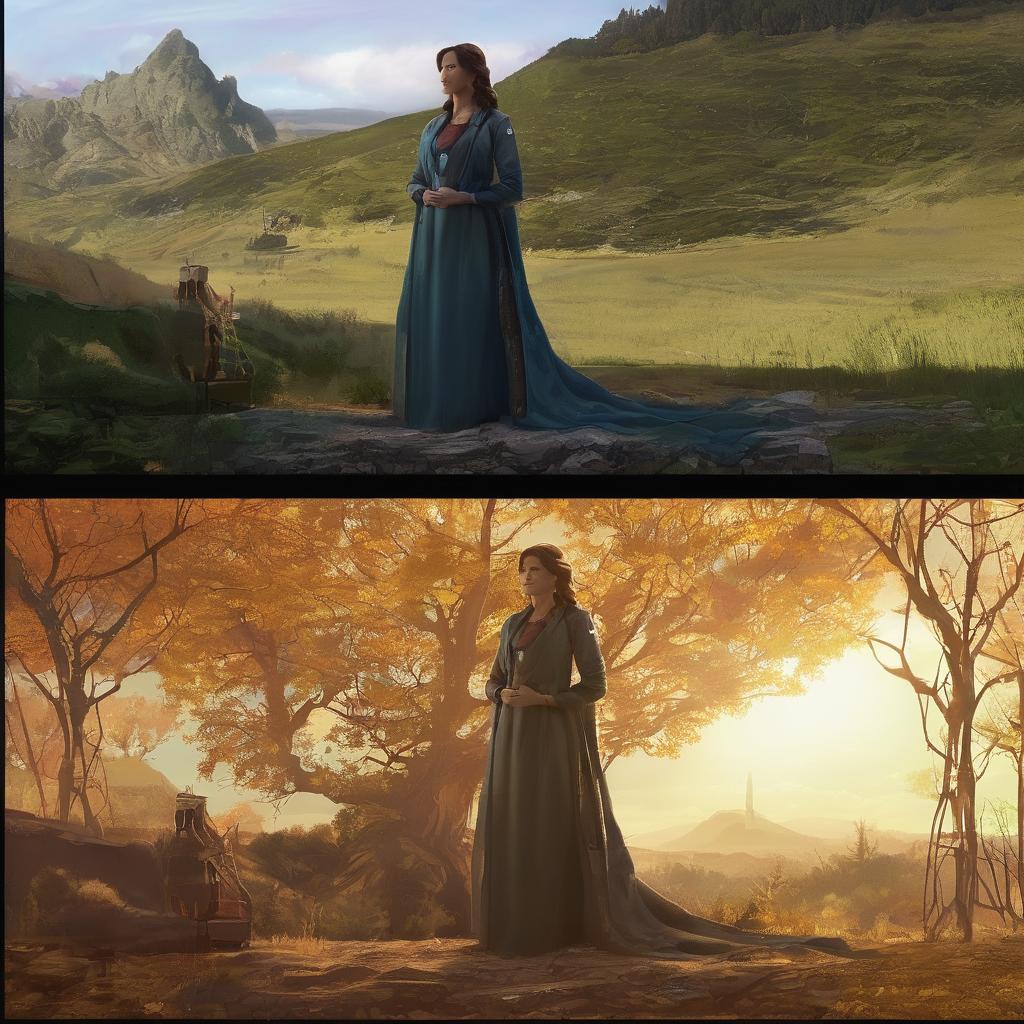
When setting up a scene, be mindful of the color casts potentially caused by different light sources. Each light source has a particular color temperature, presenting the risk of mixed lighting scenarios. If unaddressed, mixed lighting can result in inconsistent colors and unwanted effects on your shot. For instance, you might unintentionally create a blue cast from outdoor light mixing with yellow light from an indoor bulb, causing confusions about time and space. It's one of the most overlooked film lighting tips for beginners.
One of the best ways to handle and overcome possible complications from mixed lighting is to understand the unique characteristics of each light source and manipulate them to your advantage. You'll want to take into consideration each source's color temperature–measured in Kelvins. For instance, you can use a bulb with a color temperature equivalent to daylight (around 5600K) to minimise color difference if shooting under a mix of sunlight and artificial light.
However, there's no absolute rule forbidding the blend of various light sources. Creatively, this can become a secret weapon. A splash of colored light can intensify drama and even narrative depth. As long as it's intentional and not distracting, mixing light sources can lend an artistic, stylized effect. Stanley Kubrick is known for inventively mixing natural and artificial light for atmospheric results in movies like "Barry Lyndon". Experiment safely, being aware of the potential for color distortion or exposure challenges. The key is to be attentive, understand the potential pitfalls, and hold a good grasp of white balance on your camera to prevent issues with mixed lighting.
Tip 13: Budget-Friendly DIY Lighting Solutions
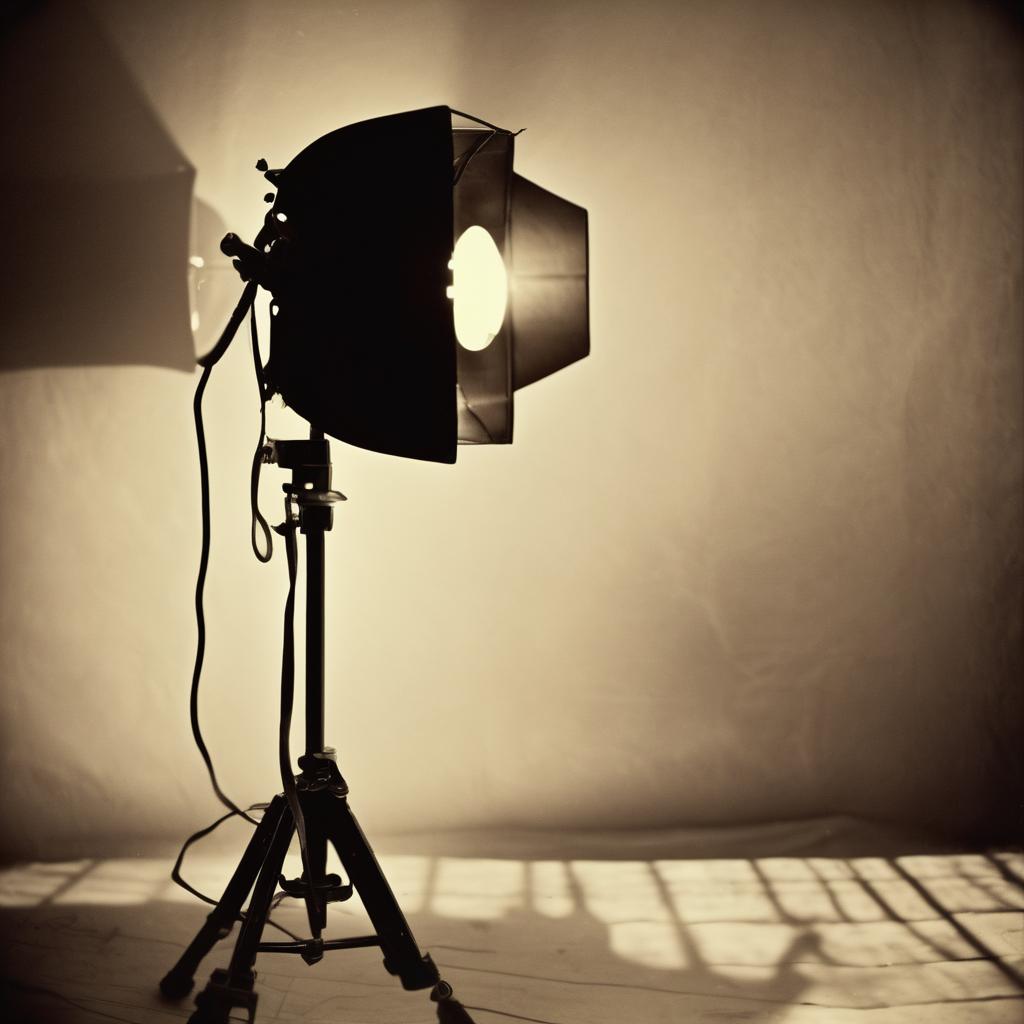
Even when working on a tight budget, there is no need to compromise on the quality of your film. Here, we will share some creative yet affordable DIY lighting solutions that are perfect for those starting on their filmmaking journey. Not all film lighting tips for beginners need to be costly, in fact, some of the most practical solutions can come from homespun ideas. Be it strategically deploying household lamps, crafting a DIY bounce board from aluminum foil, or using a white sheet as a diffuser—there are numerous ways to create effective lighting without spending a fortune.
It's crucial to make the most of what you have at hand and learn to use light imaginatively. For instance, a brighter colored wall can serve as a reflector, a pillowcase could be used as a diffuser, and a flashlight can serve as a handy spotlight. These economical solutions can get your started, but remember, it's your creativity and understanding of light’s potential that will set your work apart. Experimentation is key in learning film lighting, especially for beginners. With these practical and budget-friendly DIY film lighting tips, your journey towards mastering basic filmmaking starts here.
